Sunday 26 June 2016

Needing a Theme? Choose 'Colour'

On my latest DSLR Essentials class thru CCE in Sydney, we walked from Darling Harbour to Rozelle light rail station, shooting as we went.  I try to encourage students to think about a theme - this is quite hard because there are many things to see and shoot: from maritime heritage to modern architecture, athletes, dog walkers, seascapes and dramatic scenery.
On answer to this is perhaps to choose a a more generic these rather than a specific one. I chose the word 'colour' - because most of the colour on the walk is quite bland. You could be more specific choosing yellow or red. I chose to go with spot colour just for fun.

Water taxi detail
Darling Harbour
Use only in emergency?HDR processed using Aurora HDR
Vietnamese fishing boat detail
Maritime museum
Splash of colour
Maritime muesum
Maritime museum
HDR processed using Aurora HDR
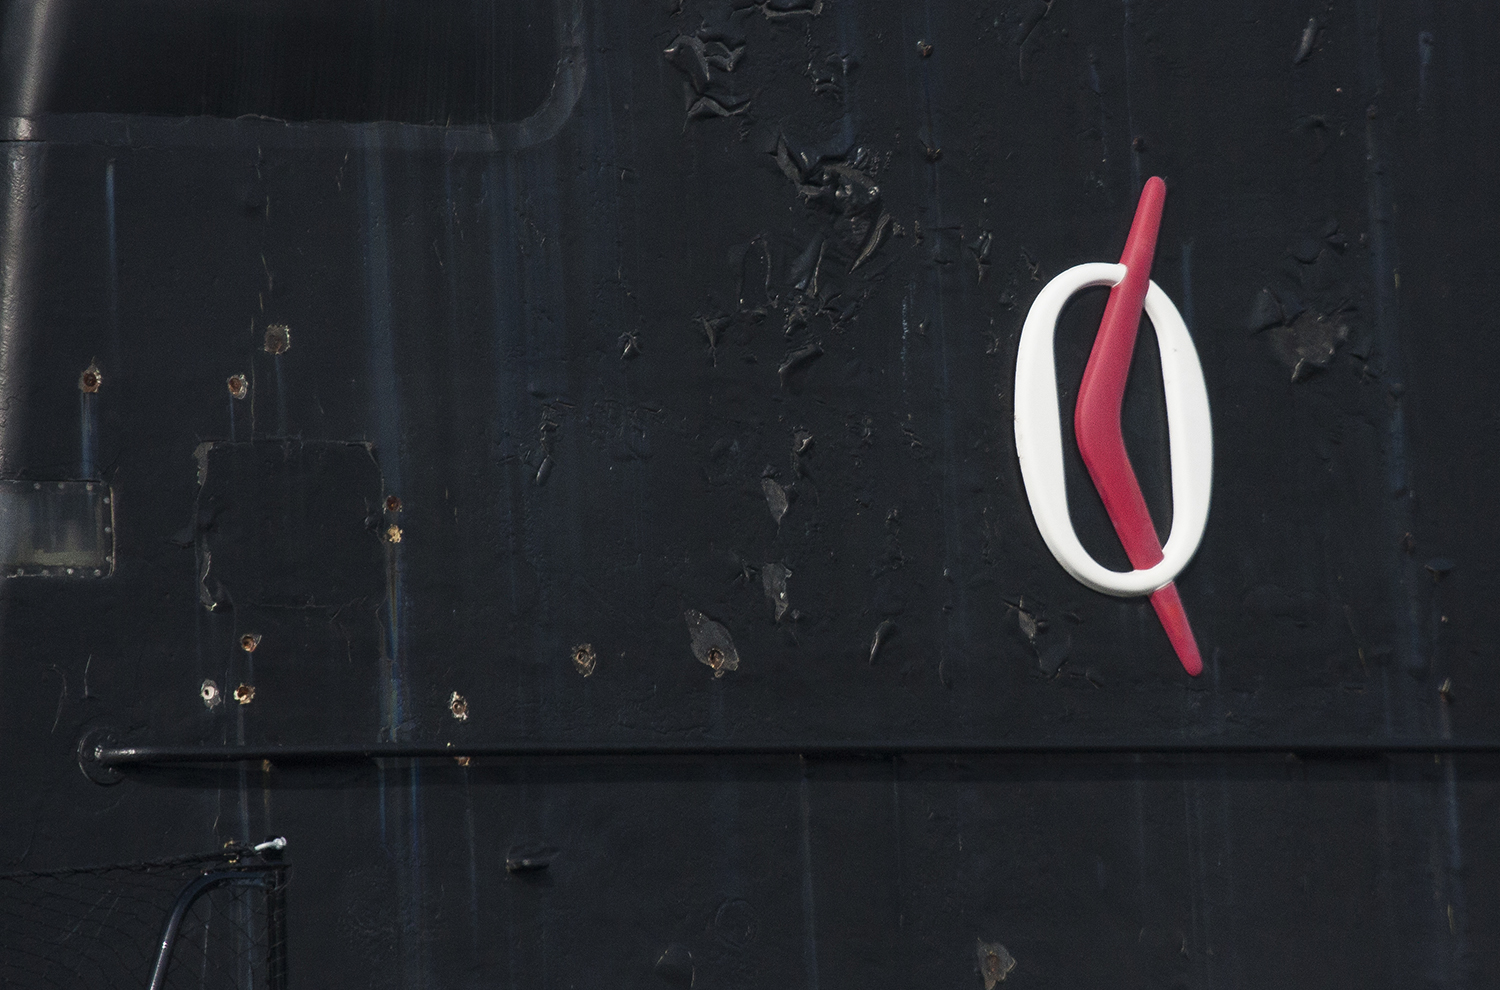
Logo on the side of HMAS Onslow
Best buddies
Two seagulls leaning on each other for support as they retract one leg each for warmth
Close up of the lightship
Carpentaria
DIscarded paint can
James Craig berthHDR processed using Aurora HDR

Rusted steel bollard
Old CSR site, Pirramama road
HDR processed using Aurora HDR


Friday 17 June 2016

Vivid downpour tests our drainage to the limit...

I was going to spend the night at Vivid but the heavens opened and it poured down so we cancelled.
I thought the sump pump was going to cope but on inspection the next day, we found the electrician standing at the top of the stairs in bare feet.
Bad sign!
It turns out that the pump float got tangled in the cables (it's a temporary unit) and failed to start.
So it filled up and overflowed in the night, leaving two to three inches of crappy water in the garage and into the storerooms at the back. Luckily it wasn't quite high enough to cause damage to the stored stuff, but it still made a mess.
Left-over acoustic insulation floating out the door...

Tuesday 14 June 2016

Vivid Time Lapse and a few Images

A Vivid icon in front of an even larger icon.
Queue of people waiting to pass through a Vivid light display.
Five bracketed frames processed using Aurora HDR Pro
Photo hopefuls in a cathedral of light, packed with about 150 other photo hopefuls...
Five frame HDR of the Opera House just as the light fades to black in the sky
Long exposures end to smooth out rough water (20secs) and blur moving people so much they (almost) disappear into the background...

One problem when shooting at night at Vivid is that the colours change fairly quickly so, if you are shooting long exposures, the colours blend together to produce white light.
Results can be disappointing.
Shooting at high ISO (i.e. 3200) captures the colours OK but without the smooth water effect you typically get with long exposures.
Fill the frame with colour As there were 150 people standing around trying to the get best shot ever of this amazing cathedral of light, one way to separate yourself from the herd is to zoom.
Set camera on tripod, ISO 400 or so to give a long shutter speed (i.e. 2-10 secs).
Before you press the shutter button, start rotating the zoom ring (starting at a zoomed right in position) then press the shutter and keep zooming. If you start shooting then zoom, you'd be unlikely to get straight zoom lines. Not a big deal but straight lines can make the result look more precise, with more visual strength.

Here's a short sample of timelapse from Vivid the other night. Below that are two tutorials on how to assemble the time lapse frames using free software for Mac and PC...


Sunday 12 June 2016

Filling the Frame with a Robin-O-Gram

An everyday icon, re-lit for Vivid
HDR processed using Aurora HDR Pro
You have to shoot in that 45 minute period after the sun goes down otherwise the sky goes black and images never look as good unless you can fill the frame with colour.
Here's a zoomed shot of a party boat moored alongside the quay.
It's OK but nothing that exciting.
I think there's too much black - it is night time after all, but by dupilcating the layer, changing the Blend Mode to Difference and fiddling with Levels and Hue/Saturation, produces a stronger, symmetrical, colour menagerie...
Robin-O-Gram 1Not exactly a copy of Man Ray's amazing photograms, but the idea behind it was the same.
Works in colour and black-and-white.
Robin-O-Gram 2
"A technique for filling the frame with colour when zooming the lens over a long exposure..."

Robin-O-Gram 3
Robin-O-Gram 4
Robin-O-Gram 5
(Below) Here's how it's done using Adobe Photoshop.