I recently bought a new lens and was quite surprised that the sales person didn't try to capitalise on my purchase by trying to sell me an over-priced filter for the new toy.
Back when I was teaching photography I heard so many stories concerning new lens purchases - and the pressure they felt on them to buy a filter for the lens - usually the most expensive brand in the shop - all the while not really knowing why one was needed.
I recall one student in particular showing me a couple of B+W filters she'd been told were 'absolutely' necessary - a UV and a Polarising filter that, combined added nearly $350 to her purchase.
So, is a filter really important or is it just a marketing beat-up? And how much should you realistically pay for one?
Adding a filter to the front of a lens is important. If you buy a new lens - remove the lens cap and immediately attach a filter. That way the front elements is kept in pristine condition. The filter acts as a protective buffer against all that the elements (and you) can throw at it.
What does a filter do?
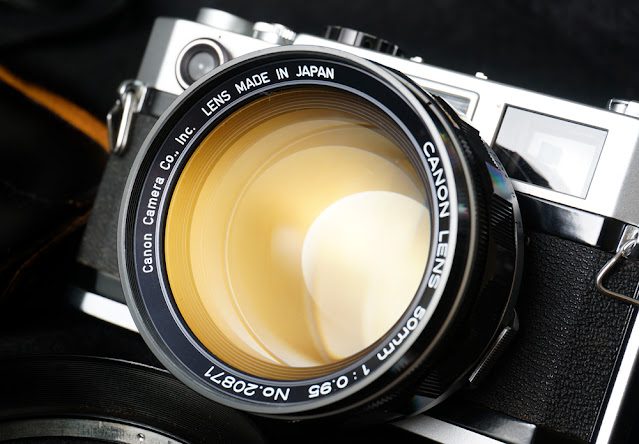 |
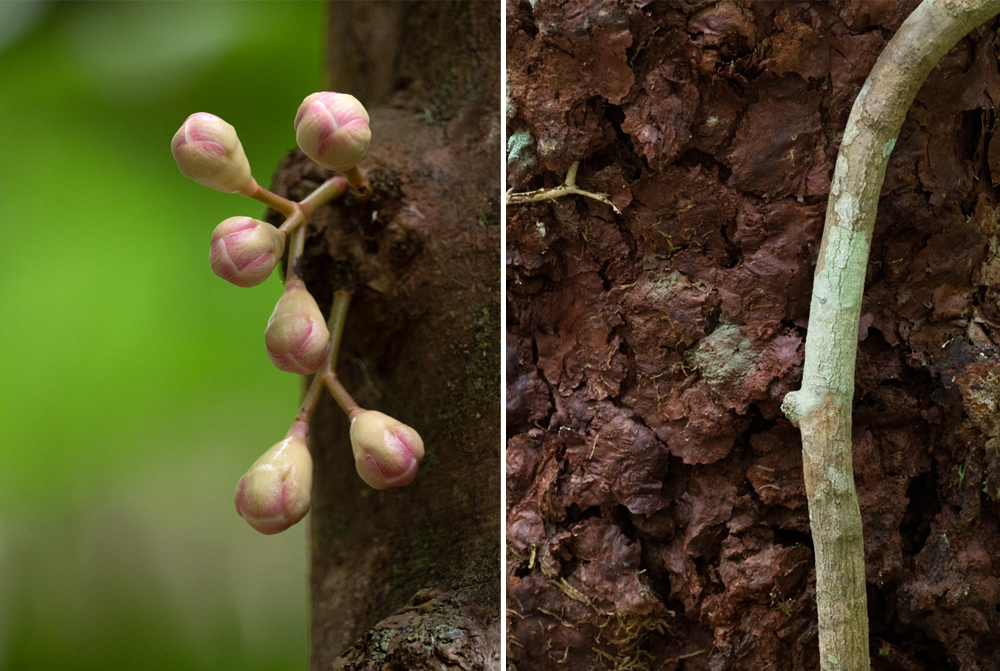
| Although the coating on many lenses look quite colourful at certain angles, it makes no difference to the photo's colour - but it can reduce flare and refraction, thus helping to produce a clearer looking picture. |
Lens manufacturers apply an ultra-thin protective coating to the front element - hold the lens surface up to a bright light and you'll see a range of colours reflecting off that front element. This coating is there to reduce optical imperfections like refraction, flare and ghosting - all negative aspects which reduce image quality.
However, the prime job of a filter is protection - it prevents dirt and greasy fingerprints getting onto the front element of the lens.
Also, note that although a lens cap is useful to keep the lens protected, its protective capabilities are not nearly as effective as a filter that screws onto the lens. To be honest I used to tell students to buy a filter and once that was fitted, to throw their lens caps way. Drastic perhaps - but I have also seen a lot of missed shots because the photographer forgot to take the lens cap off!
Be aware that the multi-coated front element is a very fragile surface - it can be scratched easily, even when cleaning with optical quality lens tissue or a soft microfibre cloth. Best advice is to never touch the front element. Ever. Leave it sealed behind a protective filter.
Cheapest filter type is called a protection filter - essentially a circle of (almost) clear glass that seals the front element from the ravages of the environment or mis-handling.
If the filter gets dirty you can safely clean it with any kind of cloth and not worry about damaging that precious coating on the lens beneath it. Plus, if the filter gets badly scratched or broken, as they often do over time (see ND filter example below) it's significantly cheaper to replace the filter than to replace the front element.
 |
| Normally an ND filter 1000 (Neutral Density) is almost totally black - it cuts out 13 f-stops of light. This one got an extensive workout in Iceland but it's multi-coated surface has taken some seawater damage. It looks bad but, providing I shoot with wide apertures, it should still work reasonably well. |
Filter Benefits:
- Simple to use
- Doesn't significantly affect size or weight of host lens
- Inexpensive - depending on the brand and marketing
- Prevents moisture ingress
- Adds a good layer of protection from physical damage.
You'd be surprised at how many photographers drop, bump or scrape their cameras and lenses (including myself). I have seen cameras on poorly set up tripods fall forward and smack onto concrete floors, filters that have cracked when accidentally bumped when squeezing through a doorway (see pic here) - there are a hundred ways to damage the front of a lens!
 |
| Another broken filter! This happened to me on an African trip - and of course I was not carrying a replacement so had to treat the suddenly naked front of the lens very carefully for several weeks... |
Other types of protection filterA protection filter is just clear glass. It makes almost no visible change to the image at all other than a fractional loss of light. This is so small that it's not worth worrying about.
Another type of protection filter is a hand-me-down from the world of film. The ultra-violet or UV filter not only protects the front element but also adds a tiny colour adjustment - typically warming the colour slightly to offset the slight blue tinge often picked up in areas of high ultra-violet light. This kind of filter is particularly effective when shooting film - Kodak Ektachrome slide film in particular, was prone to produce exaggerated blues - which were further amplified in high UV light areas. But on a digital camera a UV filter is little more than an alternative type of protection filter.

This is where buying a filter can get very expensive. There are generally three grades of protection filter (depending on where you shop): budget, mid-range and expensive. The difference? Mostly it's in the optical quality of the glass - and in some cases, the efficacy of its multi-coating.
In lab tests the more expensive filters do make a difference - because their high glass purity doesn't restrict the transmission of light through the filter as much as a cheaper brand. But we are not talking about f-stops here - we are talking fractions of an f-stop, something that I challenge most people to pick up with the naked eye. I can find no conclusive evidence that an expensive filter is going to make your photos look better - there are simply too many variants at play to make that call. But some purists will still argue that an expensive lens deserves either no filter (not a good idea!) or at least the 'best' filter glass.
So while some are happy to spend $80 or $100, I'm totally happy getting away with $31 for an OKKO protection filter.
Old School Filters
Almost every type of filter that I have heard about, and used, over the last 40 years has been replaced by a digital equivalent.
In 1978, Jacques Cokin, a French photographer, invented a very neat universal filter system. Its design was genius - the filters were mostly made from a plastic resin that slotted into a universal filter holder that was then attached to the lens via a metal adaptor ring. So, instead of having to buy different sized filters for different lenses (an expensive process) all you needed was an inexpensive metal adaptor ring for each different sized lens.
 |
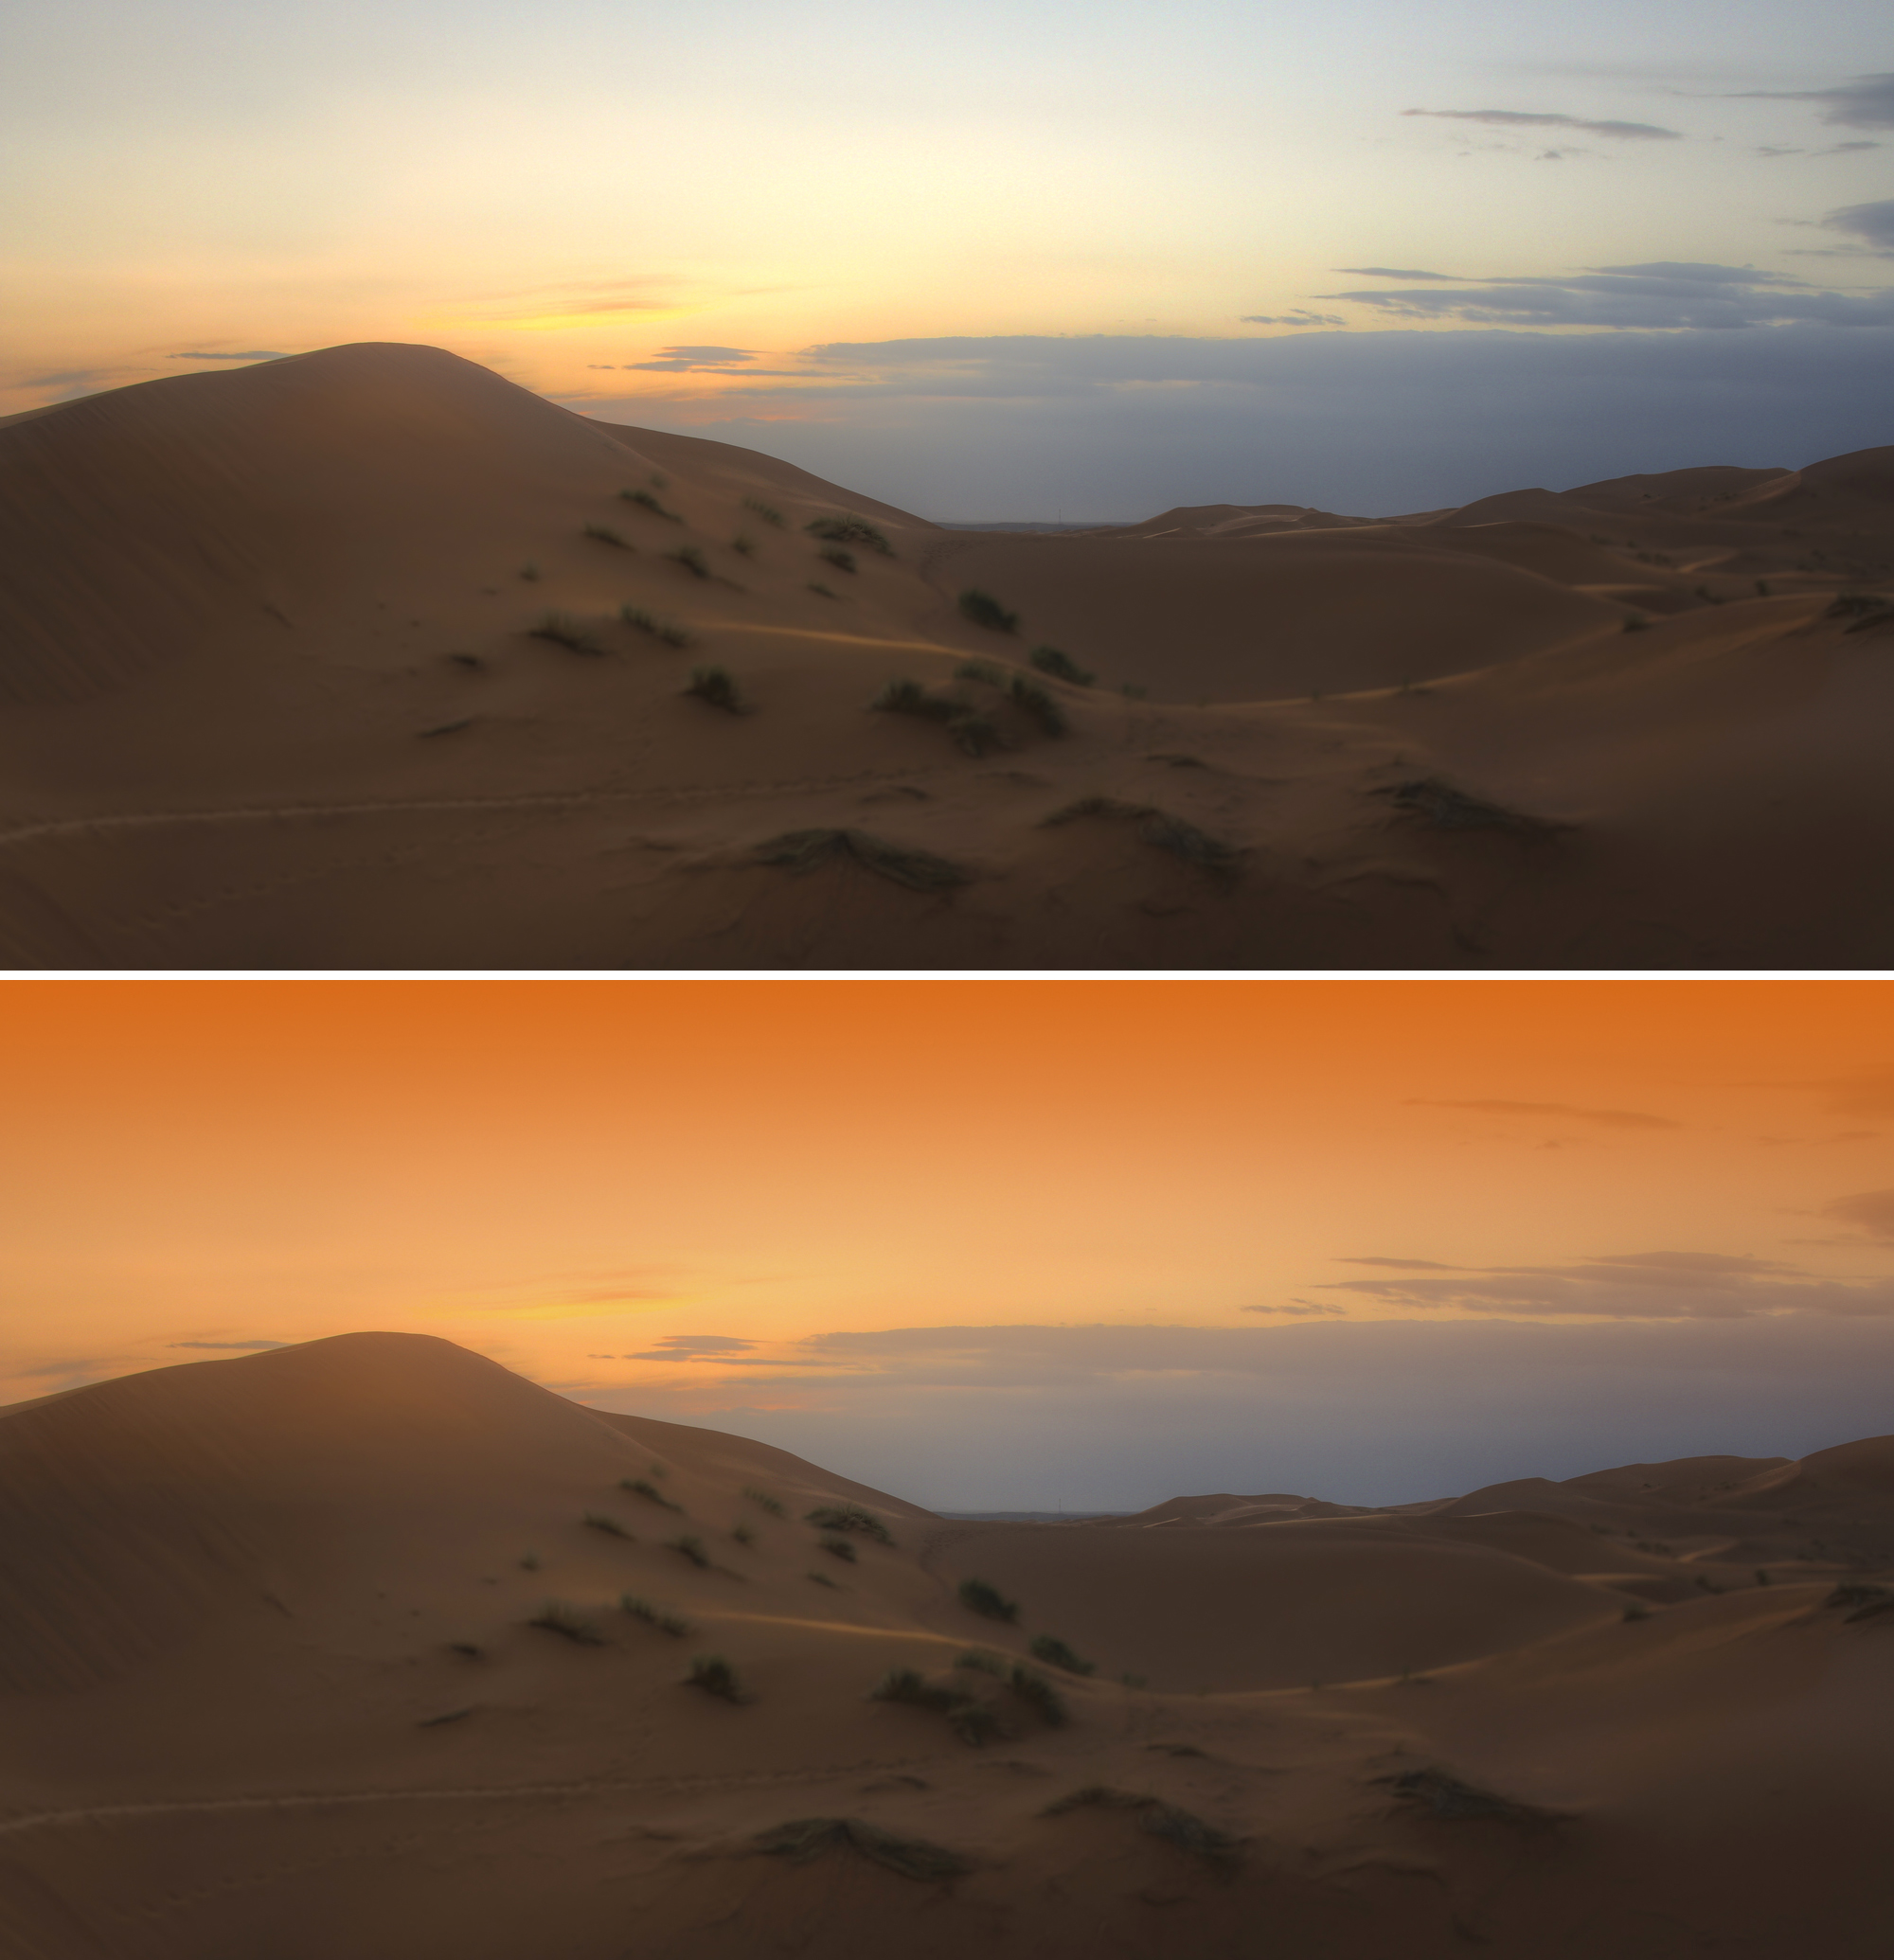
| One of my favourite effects filters from years ago - the Graduated Sunset filter was good for ramping up a lacklustre sunset. And because it's a mechanical process, most results looked a bit fake... |
Some of the more memorable filters included:
Starburst
Prism
Rainbow
Colour Spot
Graduated Sunset
Graduated Neutral Density
Polarising
Cutouts
Film Grain - and about 130 other types of filter!
Though most of the really quirky filters are no longer available (thank goodness - there were some really BAD ones in the seventies), Cokin, and now many other brands, still retail the highly adaptable, slide-in filter design which is now extensively used for digital, film, and video.
 |
Sunset Filter?
Not this time - taken early morning, September 2009, recording the day Sydney went orange with a dust storm blown in from the far west of the State... |
Software Filters
Dig around in your photo editing software and chances are good that you'll find a software method for warming or cooling your files - Photoshop Elements for one, not only has a range of colour filter effects that mimic the industry-standard Kodak filters from the world of film, plus a range of other, bolder colour effects. And unlike a physical glass filter, software filters of course offer no physical protection to the lens, but they do offer a staggering array of colour options.
It's interesting that, of the regular filters still sold, the Polariser and Neutral Density (ND) filters are two examples that cannot be reproduced in post-production software - although to be fair some applications, like Skylum Aurora HDR, try mimicking the effects of a polarising filter by enhancing the blue tones. But it can never remove reflections from foliage or water to reveal their true colours - the biggest reason to use a physical Polarising filter.
And then there's the preset filter. This is a mini adjustment recipe, saved as an action - to get it to work all that's needed is choose a particular effect, click on its thumbnail and watch as it gets added to your file automatically.