 |
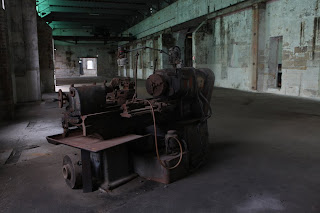
| This is the 'base exposure' - a bit dull and underexposed but ideal when you add the flashed highlights from the other frames |
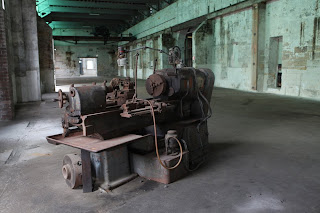 |
| This exposure is just a bit brighter than the first one and is used to add a bit of mid-tone detail to some of the lathe - I find it more convincing to do this than just dodging the very dark base image. |
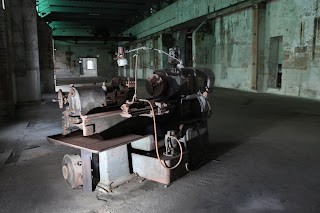 |
| This was again a dark exposure but I flashed from the lower left-hand side to add impact |
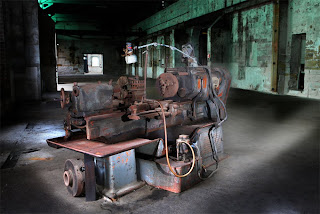 |
| Here's the final assembled and erased version comprising bits from all three images - plus a bit of burning in to darken the edges |
As I demonstrated to a couple in the group last Saturday (September 11) at Cockatoo Island, with a tripod it is possible to shoot a few different flashed exposures then use Photoshop or Elements to copy and paste the elements together before erasing out the bits you do not like to reveal areas under the erased sections that you DO like. It's a hard technique to get your head round to start with, especially as you are shooting the segments, but once you have done it a couple of times, it becomes a lot more intuitive. TIP: Lower the opacity of the layer on top so you can see a ghosted image of what the lower layer details look like. Also use the eye icons on each layer to turn the visibility on and off to get a clearer idea of what areas are worth erasing, or saving...


No comments:
Post a Comment